How to integrate with Salesforce Commerce Cloud
Overview
Salesforce Commerce Cloud is a leading eCommerce platform that many Enterprise customers leverage to power their online stores. The integration with Friendbuy allows you to enhance your referral and loyalty programs by automating key functionalities and providing a seamless experience for your customers.
Key Benefits for Salesforce Commerce Cloud Users
- Streamlined Integration:
- Quick and Easy Setup: Reduce the time and effort required to implement Friendbuy’s referral and loyalty programs. The integration with Salesforce Commerce Cloud simplifies the process, allowing you to go live faster.
- Enhanced Customer Experience:
- Seamless Tracking: Automatically track customer activities such as purchases, sign-ups, and custom events.
- Personalized Interactions: Provide a more personalized experience by tagging customers as Friendbuy Advocates or Referred Friends.
- Efficient Reward Management:
- Automated Coupon Generation: Generate reward and Friend incentive coupons based on predefined criteria like purchase thresholds and SKU restrictions, ensuring accurate and timely reward distribution.
- Reward Validation: Utilize Friendbuy’s reward delay feature to validate rewards through Salesforce Commerce Cloud, ensuring compliance with your business rules.
- Data Integration and Utilization:
- Comprehensive Customer Profiles: Enrich customer profiles in Salesforce Commerce Cloud with referral and loyalty data from Friendbuy, providing a holistic view of customer interactions and preferences.
- Dynamic Customer Groups: Set up dynamic customer groups to better segment and target your audience, enhancing the effectiveness of your marketing campaigns.
- Global Support:
- Default Currency Management: For merchants with international stores, the integration handles default currency settings, ensuring a consistent experience across different regions.
Before Getting Started
Getting Started
To begin the integration, you’ll need to Salesforce Commerce Cloud APIs and Friendbuy credentials. Follow the detailed steps in the subsequent sections to complete the integration, enabling a seamless and automated referral and loyalty experience for your customers.
Setting up your Salesforce Commerce Cloud Integration
Configure Friendbuy Track Events:
Import Friendbuy Type Extensions:
First, Friendbuy metadata must be imported into your B2C instance to add the required customizations.
- Download metadata.zip archive
- Extract the zipped files
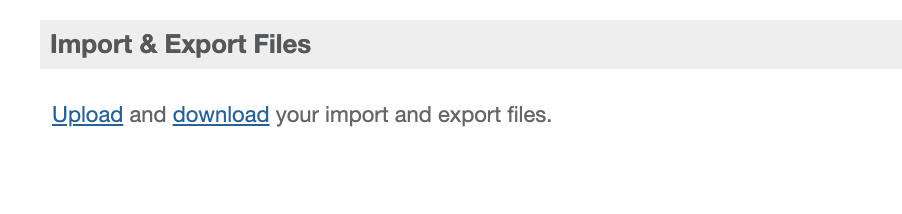
- In your B2C instance, navigate to Administration -> Site Development -> Import & Export
- In the Import & Export Files section, select Upload
- Select the previously extracted type extensions file (metadata/meta/system-objecttype-extensions.xmlI).
This will add configurable properties to several system objects.

- Select Upload
- Back in the main Import & Export page, under the Metadata section, select Import
- Select the uploaded extensions file, then Next, followed by Import on the following page

- Confirm successful import of the type extensions

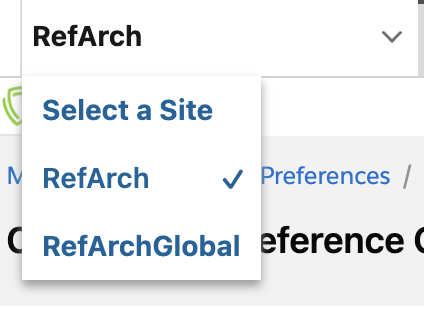
- In the top-left corner, select B2C site you would like to integrate with Friendbuy (Below is a sample. Please select your specific store name)
- Under Merchant Tools -> Site Preferences -> Custom Preferences, select the "friendbuy" group.
- In your Friendbuy account, navigate to Settings on the left, and select Account. Scroll down and copy the Merchant ID to your clipboard. Add the following settings.
- Merchant ID - YOUR_FRIENDBUY_MERCHANT_ID
- Account Secret - Use the value in your Friendbuy account (Developer Center -> Friendbuy Code -> Secret Key)
- Navigate back to your B2C commerce Cloud instance, and paste the Merchant ID and Secret Key. Select Save
Download and Install Friendbuy cartridges
- Download catridges.zip fileFriendbuy ships two cartridges to facilitate communication between Friendbuy and Salesforce Commerce Cloud sites, int_salesforce_sfra and int_salesforce_core. For information on cartridge internals, see the cartridges documentation.
- Using your preferred WebDav client, upload the cartridges. Upload help doc here.
- On your B2C commerce cloud platform, go to Administration ->Sites -> Manage Sites
- Select the B2C site you would like to integrate with Friendbuy
- Select the Settings tab
- Ensure your instance type is the intended enviroment
- Modify the site cartridge path to include int_friendbuy_sfra:int_friendbuy_core:app_storefront_base

The Friendbuy cartridges must be at the beginning of the list.
- Select Apply
Configure Friendbuy reward generation
Import the Friendbuy custom job
When new reward options are configured in your account, Friendbuy will automatically synchronize these settings in your B2C site to create any necessary Salesforce Commerce Cloud promotions or coupons. This is facilitated by a custom job implemented in the int_friendbuy_core cartridge. Prior to running the sync, the job definition must be imported.
- On your B2C commerce cloud platform, In the top-left corner, ensure the site used in previous steps is selected.
- Under Administration -> Operations -> Import & Export
- In the Import & Export Files section, select Upload
- Select the previously extracted job definition file (metadata/jobs.xml)
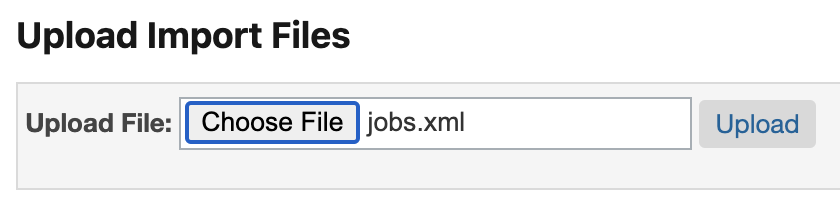
- Select Upload
- Back in the main Import & Export page, under the Jobs section, select Import

- Select the uploaded jobs file, then Next
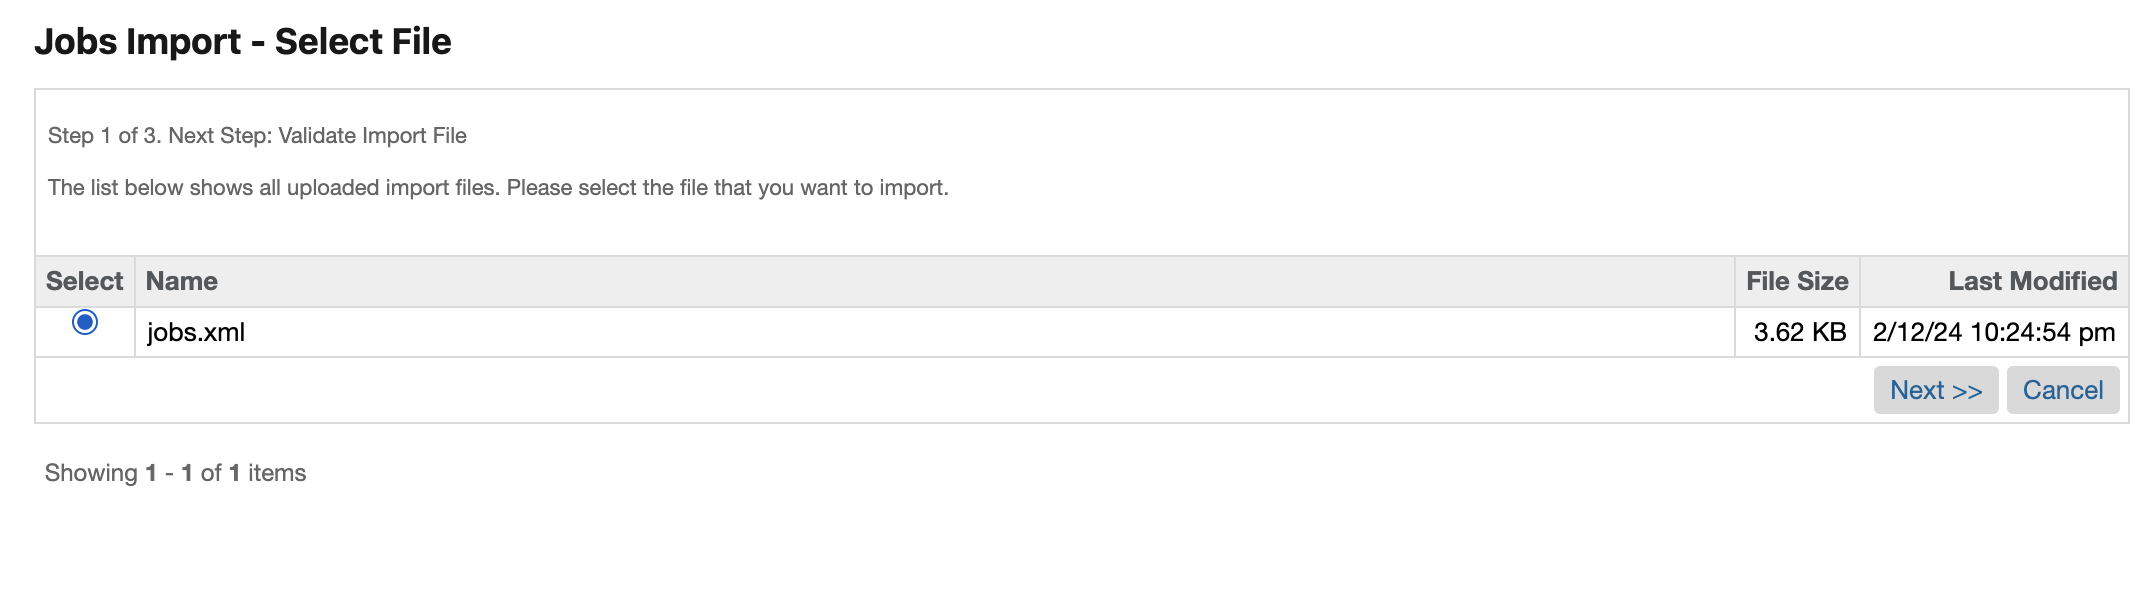
- Select Next on the validation results page
- If prompted to provide an Import Mode, choose REPLACE and then select the Import button
Add a new Salesforce Commerce Cloud Client
In order to generate coupon codes and synchronize the Friendbuy reward configuration, Friendbuy will need to be granted OCAPI API access to your B2C site.
- Visit the Account Manager, and add a new API client
- Fill out all required fields and add the following Friendbuy specific settings:
- Default Scopes
mail
roles
tenantFilter
profile
openId - Redirect URIs
https://retailer.friendbuy.io/developers/integrations/salesforceB2c
- Token Endpoint Auth Method: client_secret_post
- Access Token Format: JWT
- Default Scopes
- Create the client, and copy the ID and password for the next installation steps
Configure Open Commerce API settings
The OCAPI API restricts access to almost all resources by default. We will need to grant access to the client we just created.
- In the Business Manager, visit Administration -> Site Development -> Open Commerce API Settings
If there is existing client configuration, you will need to add the following snippets in theclientslist. Ensure there is a version for your API settings.Replace the YOUR_CLIENT_ID with your actual client ID.Shop
To ensure access to the required resources, use the Global context in production.{
"client_id": "YOUR_CLIENT_ID",
"resources": [
{
"resource_id": "/orders/*",
"methods": ["get"],
"read_attributes": "(**)",
"write_attributes": "(**)"
},
{
"resource_id": "/customers/*/orders",
"methods": ["get"],
"read_attributes": "(**)",
"write_attributes": "(**)"
},
{
"resource_id": "/customers/*",
"methods": ["get", "patch"],
"read_attributes": "(**)",
"write_attributes": "(**)"
}
]
}
Data{
"client_id": "YOUR_CLIENT_ID",
"resources": [
{
"resource_id": "/sites/*/coupons/**",
"methods": ["get", "post"],
"read_attributes": "(**)",
"write_attributes": "(**)"
},
{
"resource_id": "/sites",
"methods": ["get"],
"read_attributes": "(**)",
"write_attributes": "(**)"
},
{
"resource_id": "/jobs/FriendbuyImportConfig/executions",
"methods": ["post"],
"read_attributes": "(**)",
"write_attributes": "(**)"
},
{
"resource_id": "/jobs/FriendbuyImportConfig/executions/*",
"methods": ["get"],
"read_attributes": "(**)",
"write_attributes": "(**)"
}
]
}To ensure access to the required resources, use the Global context in production.The configuration now should have the following shape:
Note the different _v values. - Shop
{
  "_v": "21.3",
  "clients": [
    {
      "client_id": "NEW_FRIENDBUY_CLIENT_ID",
      "resources": [
	...
      ]
    },
    {
      "client_id": "SOME_OTHER_CLIENT_ID",
      "resources": [
	...
      ]
    }
  ]
} - Data
{
  "_v": "23.2",
  "clients": [
    {
      "client_id": "NEW_FRIENDBUY_CLIENT_ID",
      "resources": [
	...
      ]
    },
    {
      "client_id": "SOME_OTHER_CLIENT_ID",
      "resources": [
	...
      ]
    }
  ]
} - Select Save
Install the Friendbuy <-> Salesforce Commerce Cloud Integration
- In the Friendbuy Retailer App, go to Developers -> Integrations -> Salesforce Commerce Cloud
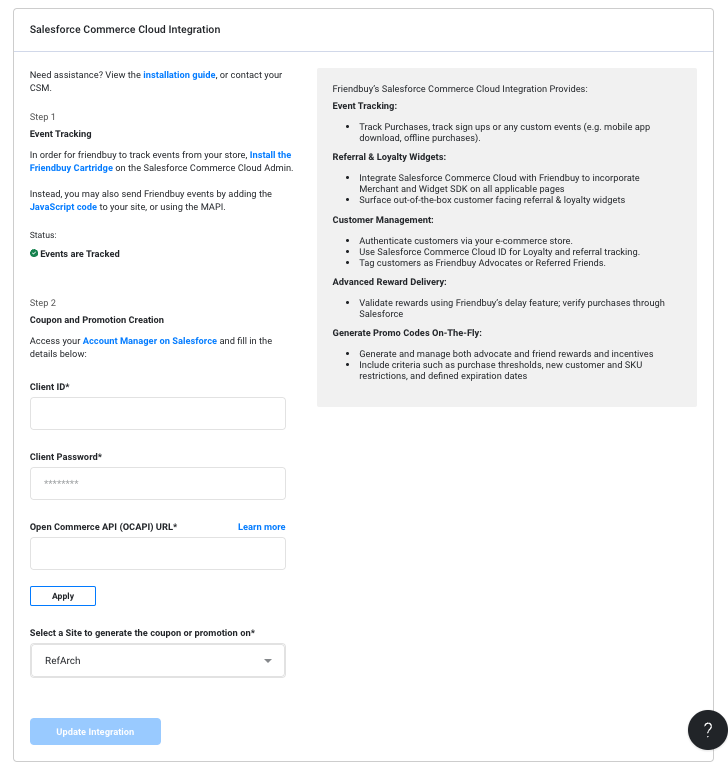
- Fill in the client information and add your Open Commerce API URLThe OCAPI URL will be your public domain name for production instances. For B2C sandboxes, refer to the OCAPI URL syntax documentation.
- Select Apply to begin the OAuth flow
- Upon successful authentication, pick your site from the dropdown and select Install Integration
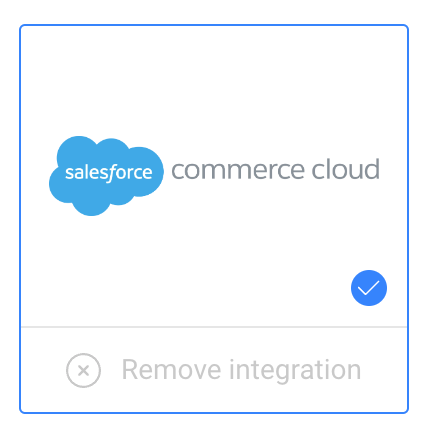
- You will see a blue check on the integration page notifying that you a properly integrated with Salesforce Commerce Cloud.
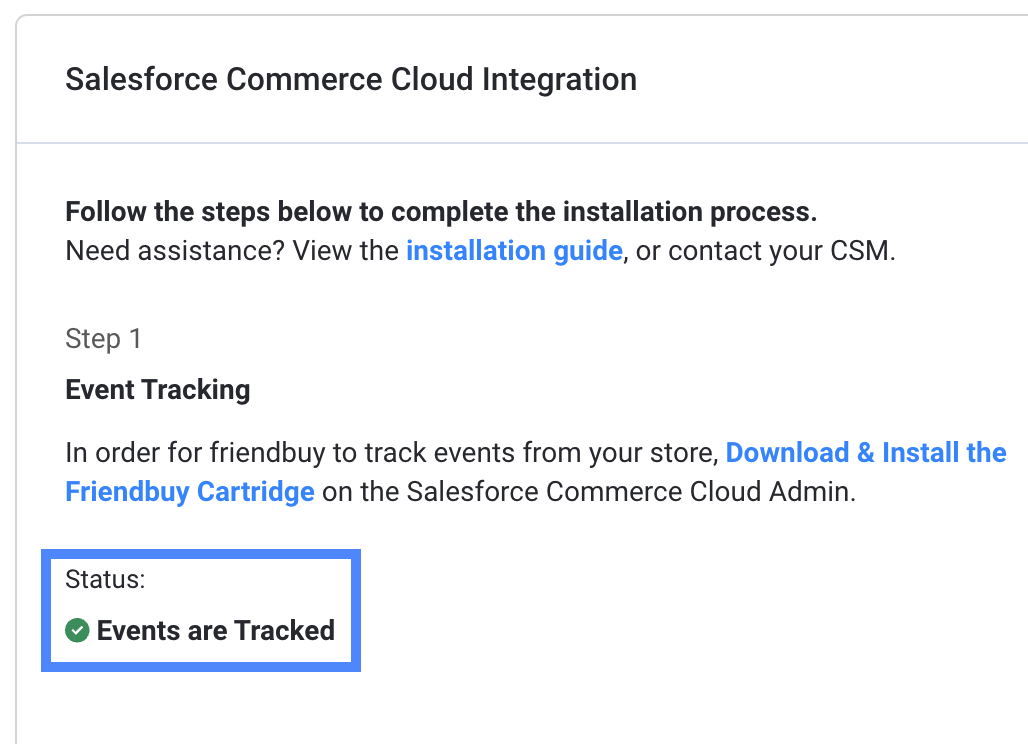
- You will see a green check mark under Status, letting you know that Event are tracking properly.
Advocate Reward Configuration
You can choose to reward your Advocate with a Salesforce discount. Friendbuy will automatically generate the discount code and dynamically include it in a reward email.
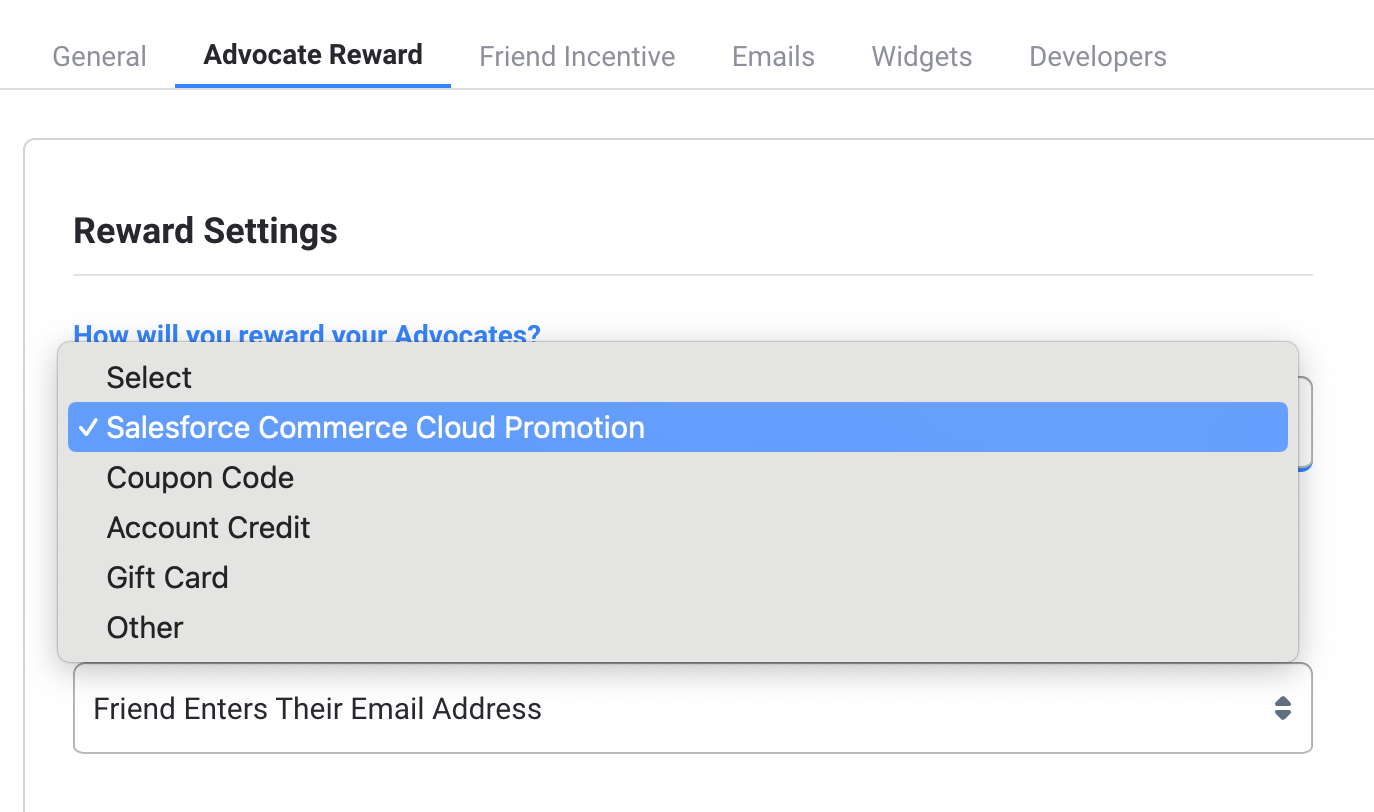
- On the Advocate Rewards tab of your referral campaign, select How will you reward your Advocates?
- Select Salesforce Commerce Cloud Promotion
- Enter the type and amount you will reward Advocates.The default currency type is set as your the currency you chose when you created your merchant account
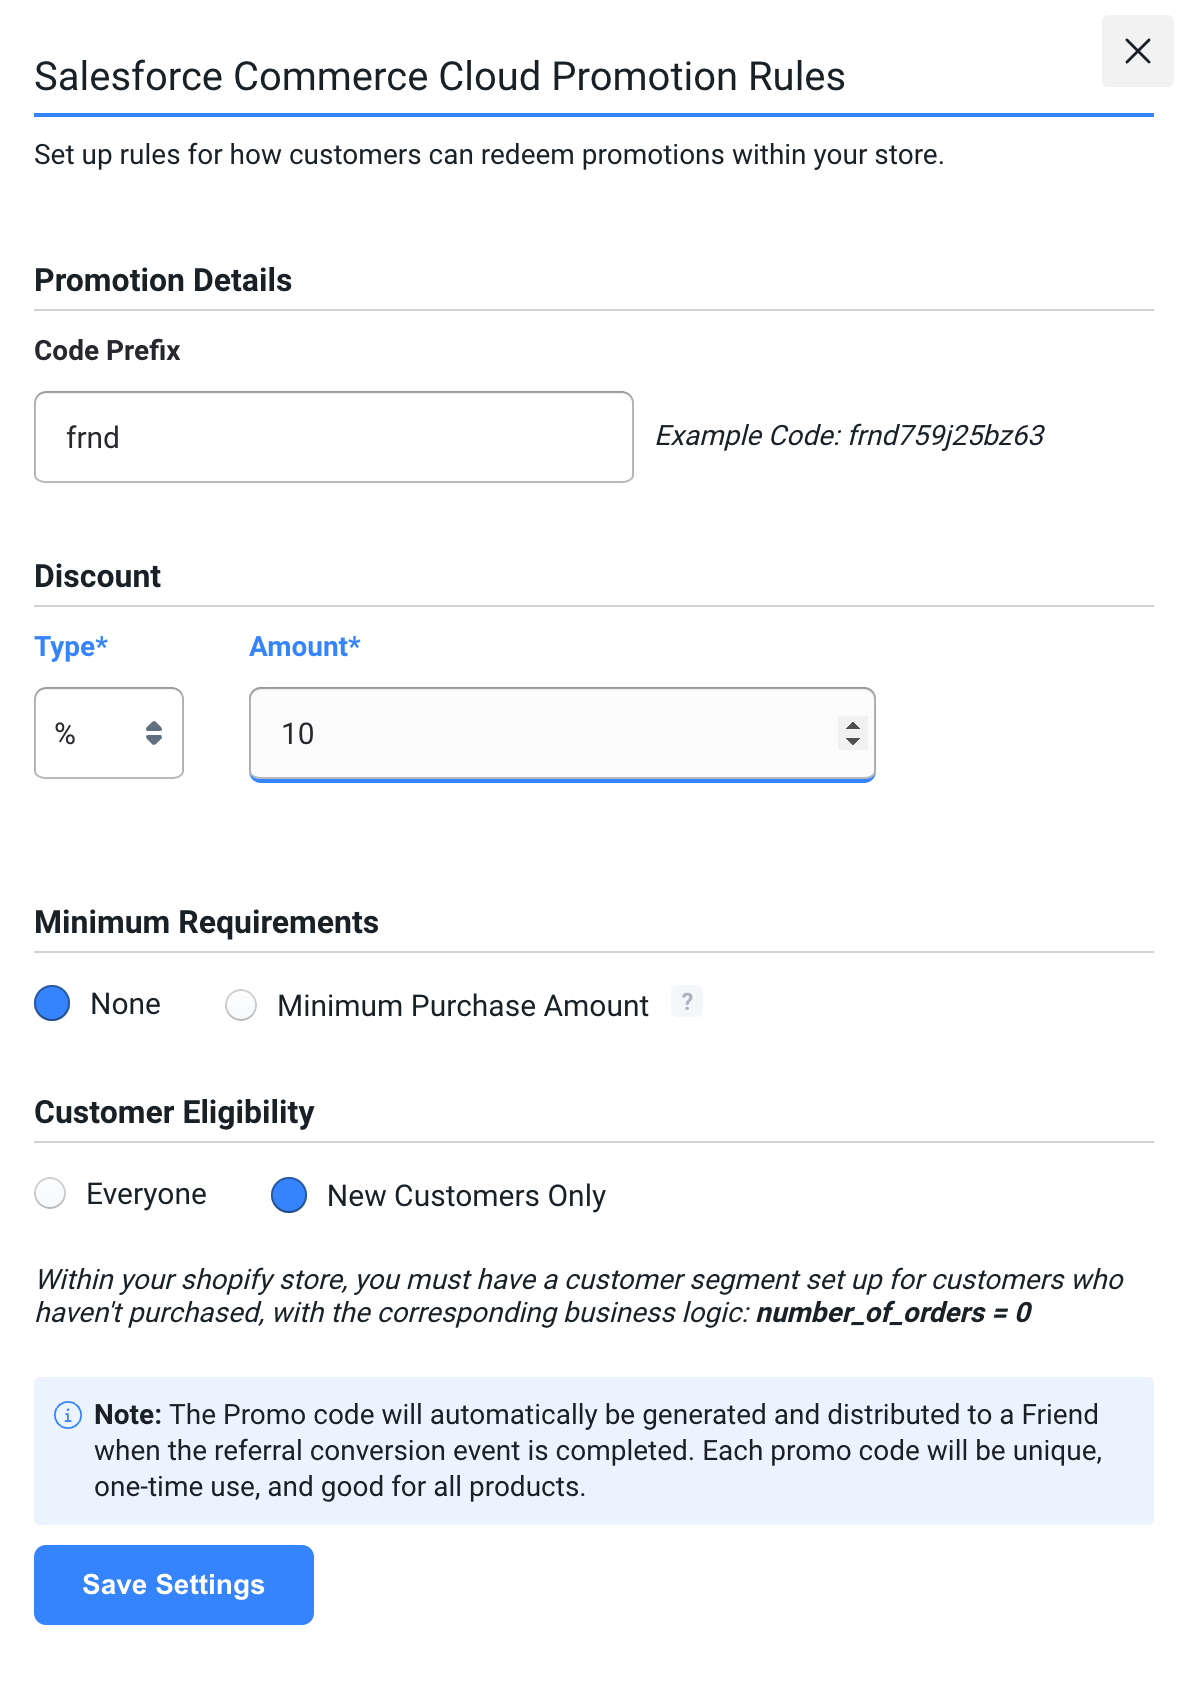
- Select Save Settings
- At any time, you may go back and modify the discount by selecting Modify Rules
Referred Friend Incentive Configuration
You can choose to reward your Friends with a Salesforce discount. Friendbuy will automatically generate the discount code and dynamically include it in a reward email.
- On the Friend Incentives tab of your referral campaign, select How will you incentivize referred Friends?
- Select Salesforce Commerce Cloud Promotion
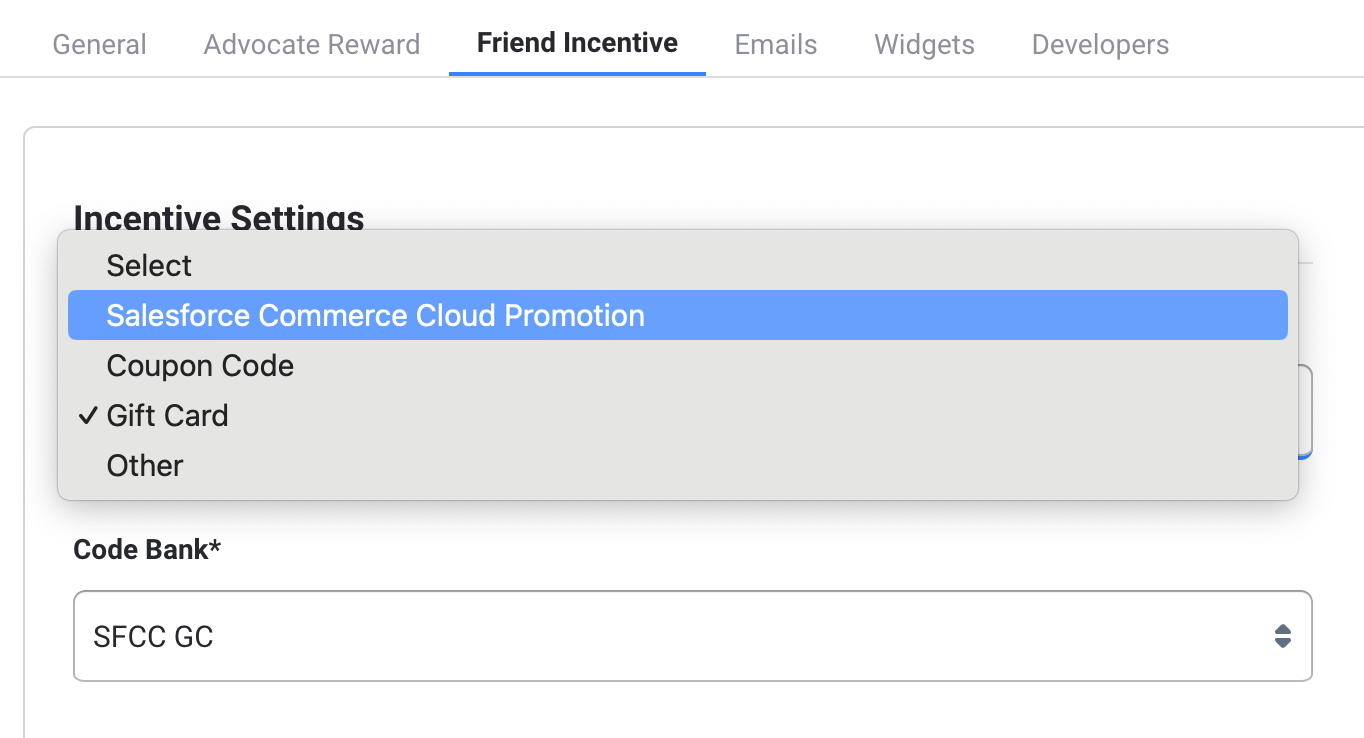
- Enter the type and amount you will incentive Friends with.

- Select Save Settings
- At any time, you may go back and modify the discount by selecting Modify Rules
Rewarding Loyalty Members with Salesforce Discounts
You can reward loyalty members with a Salesforce discount that will automatically be generated and distributed when a Loyalty Member earns a reward.
- From the Loyalty section, click the Earning Events tab at the top of the page.
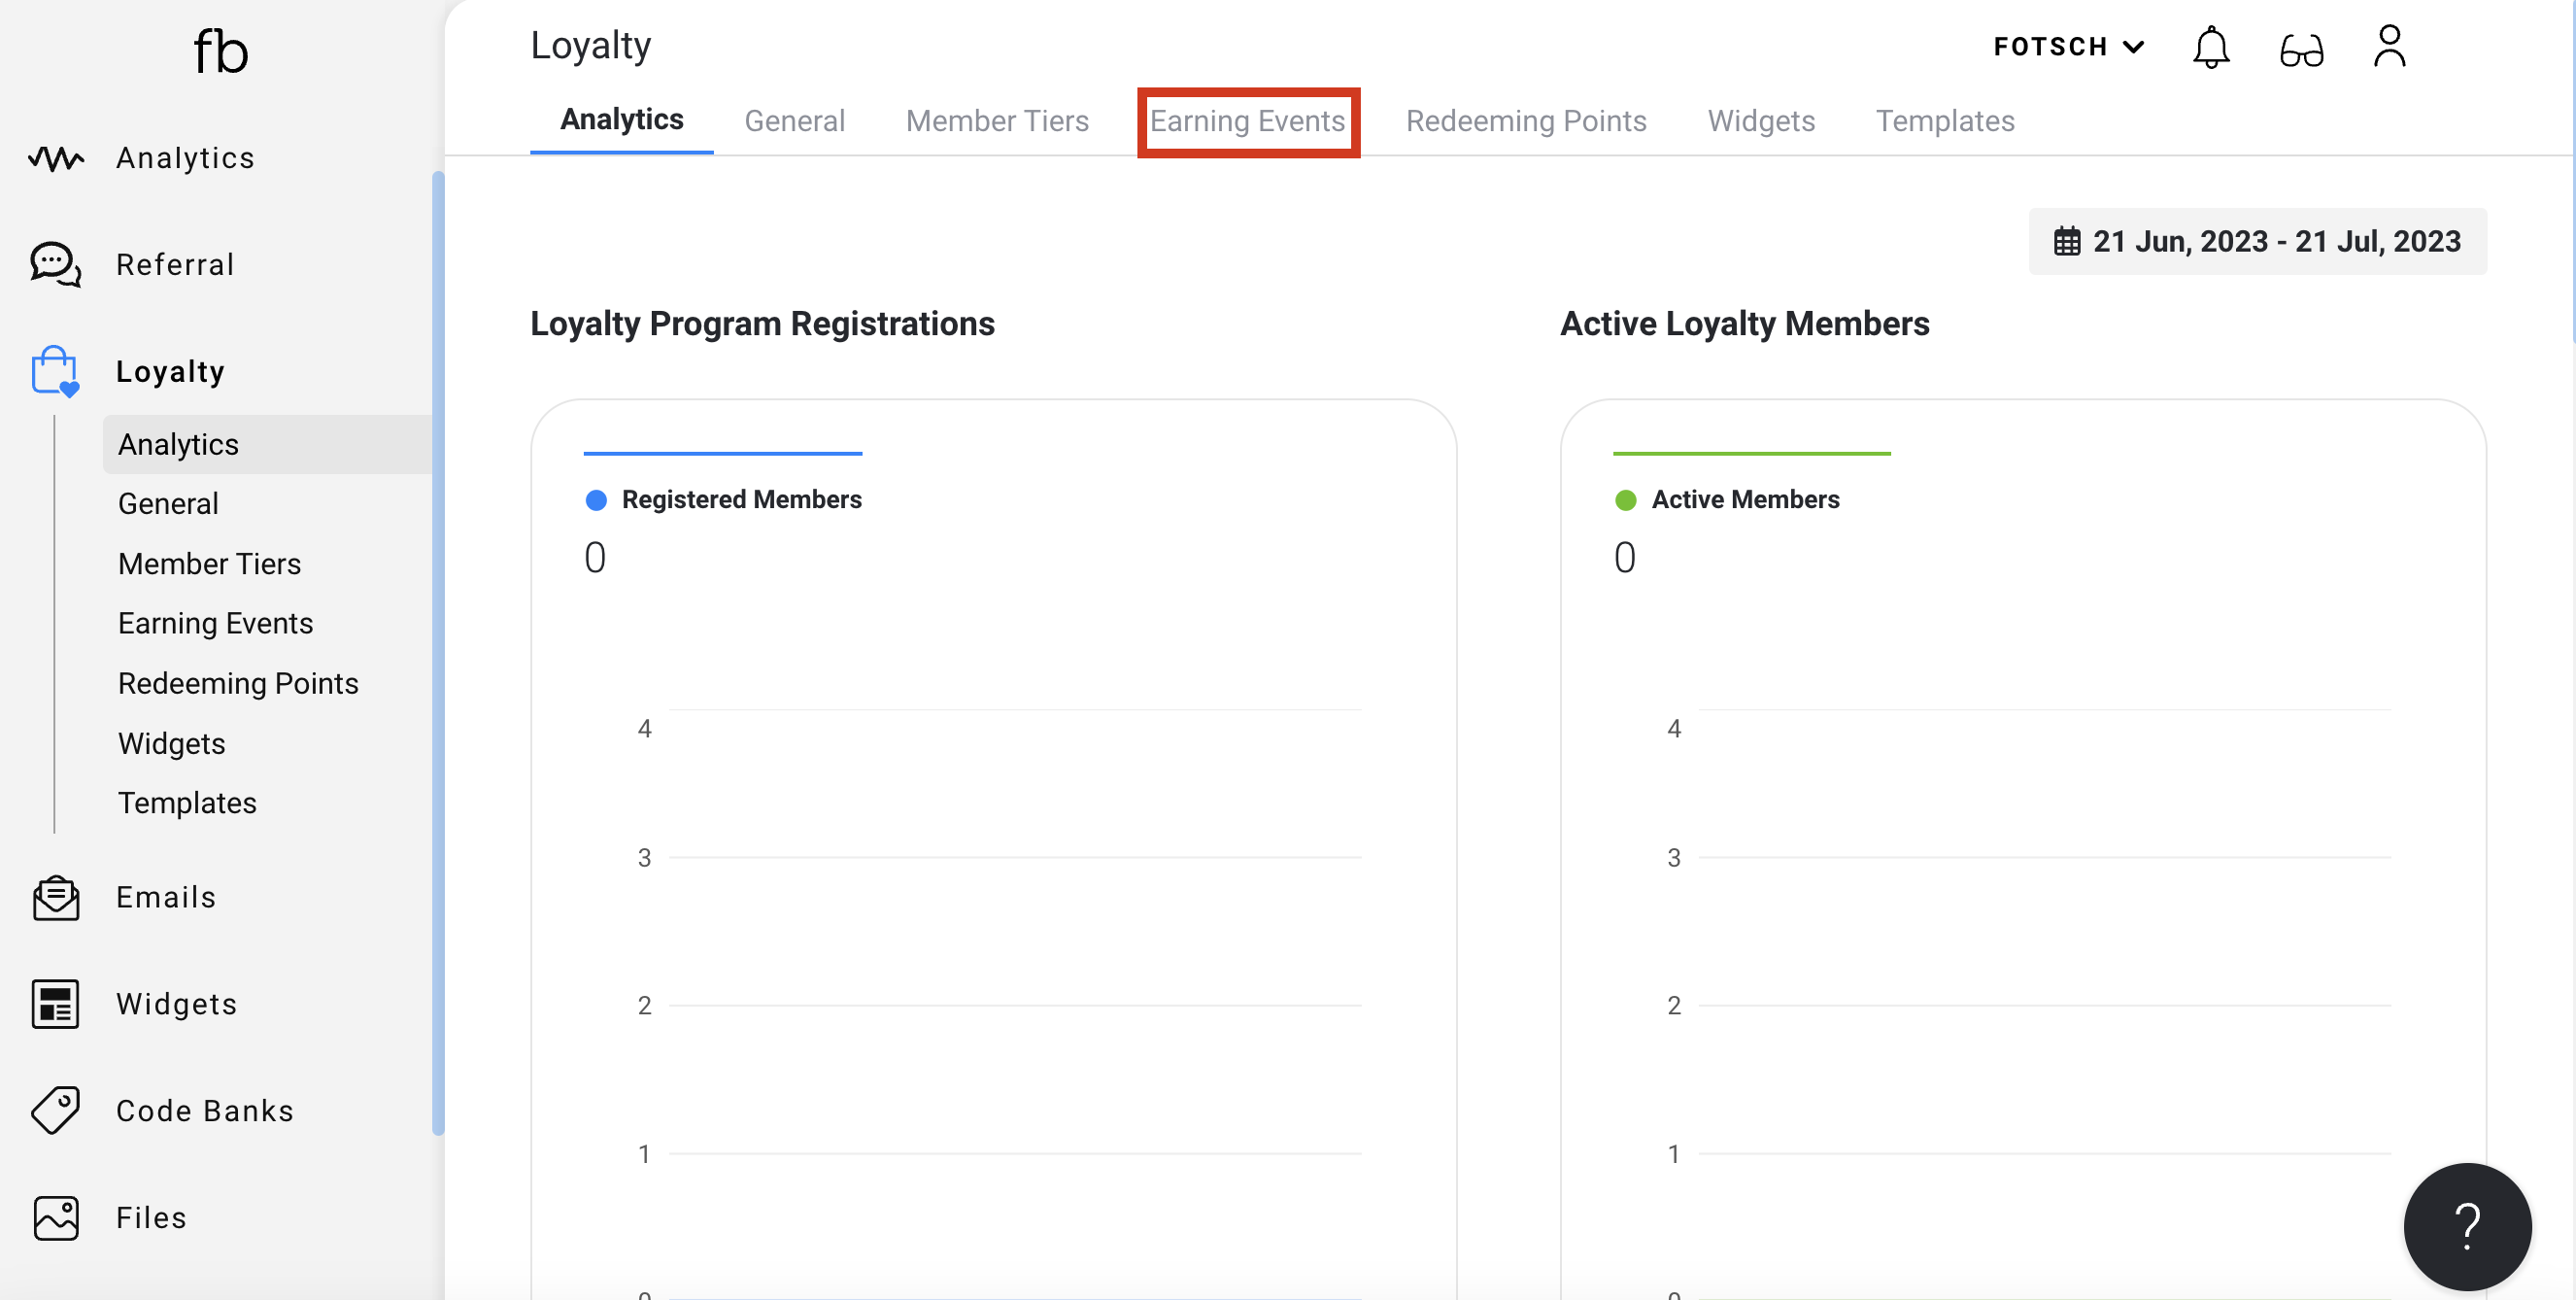
- Click + Add Earning Event at the top right of the screen.
- Here you will be prompted with all the different types of Earning Events Friendbuy offers.
- Create an Earning Event of your choosing.
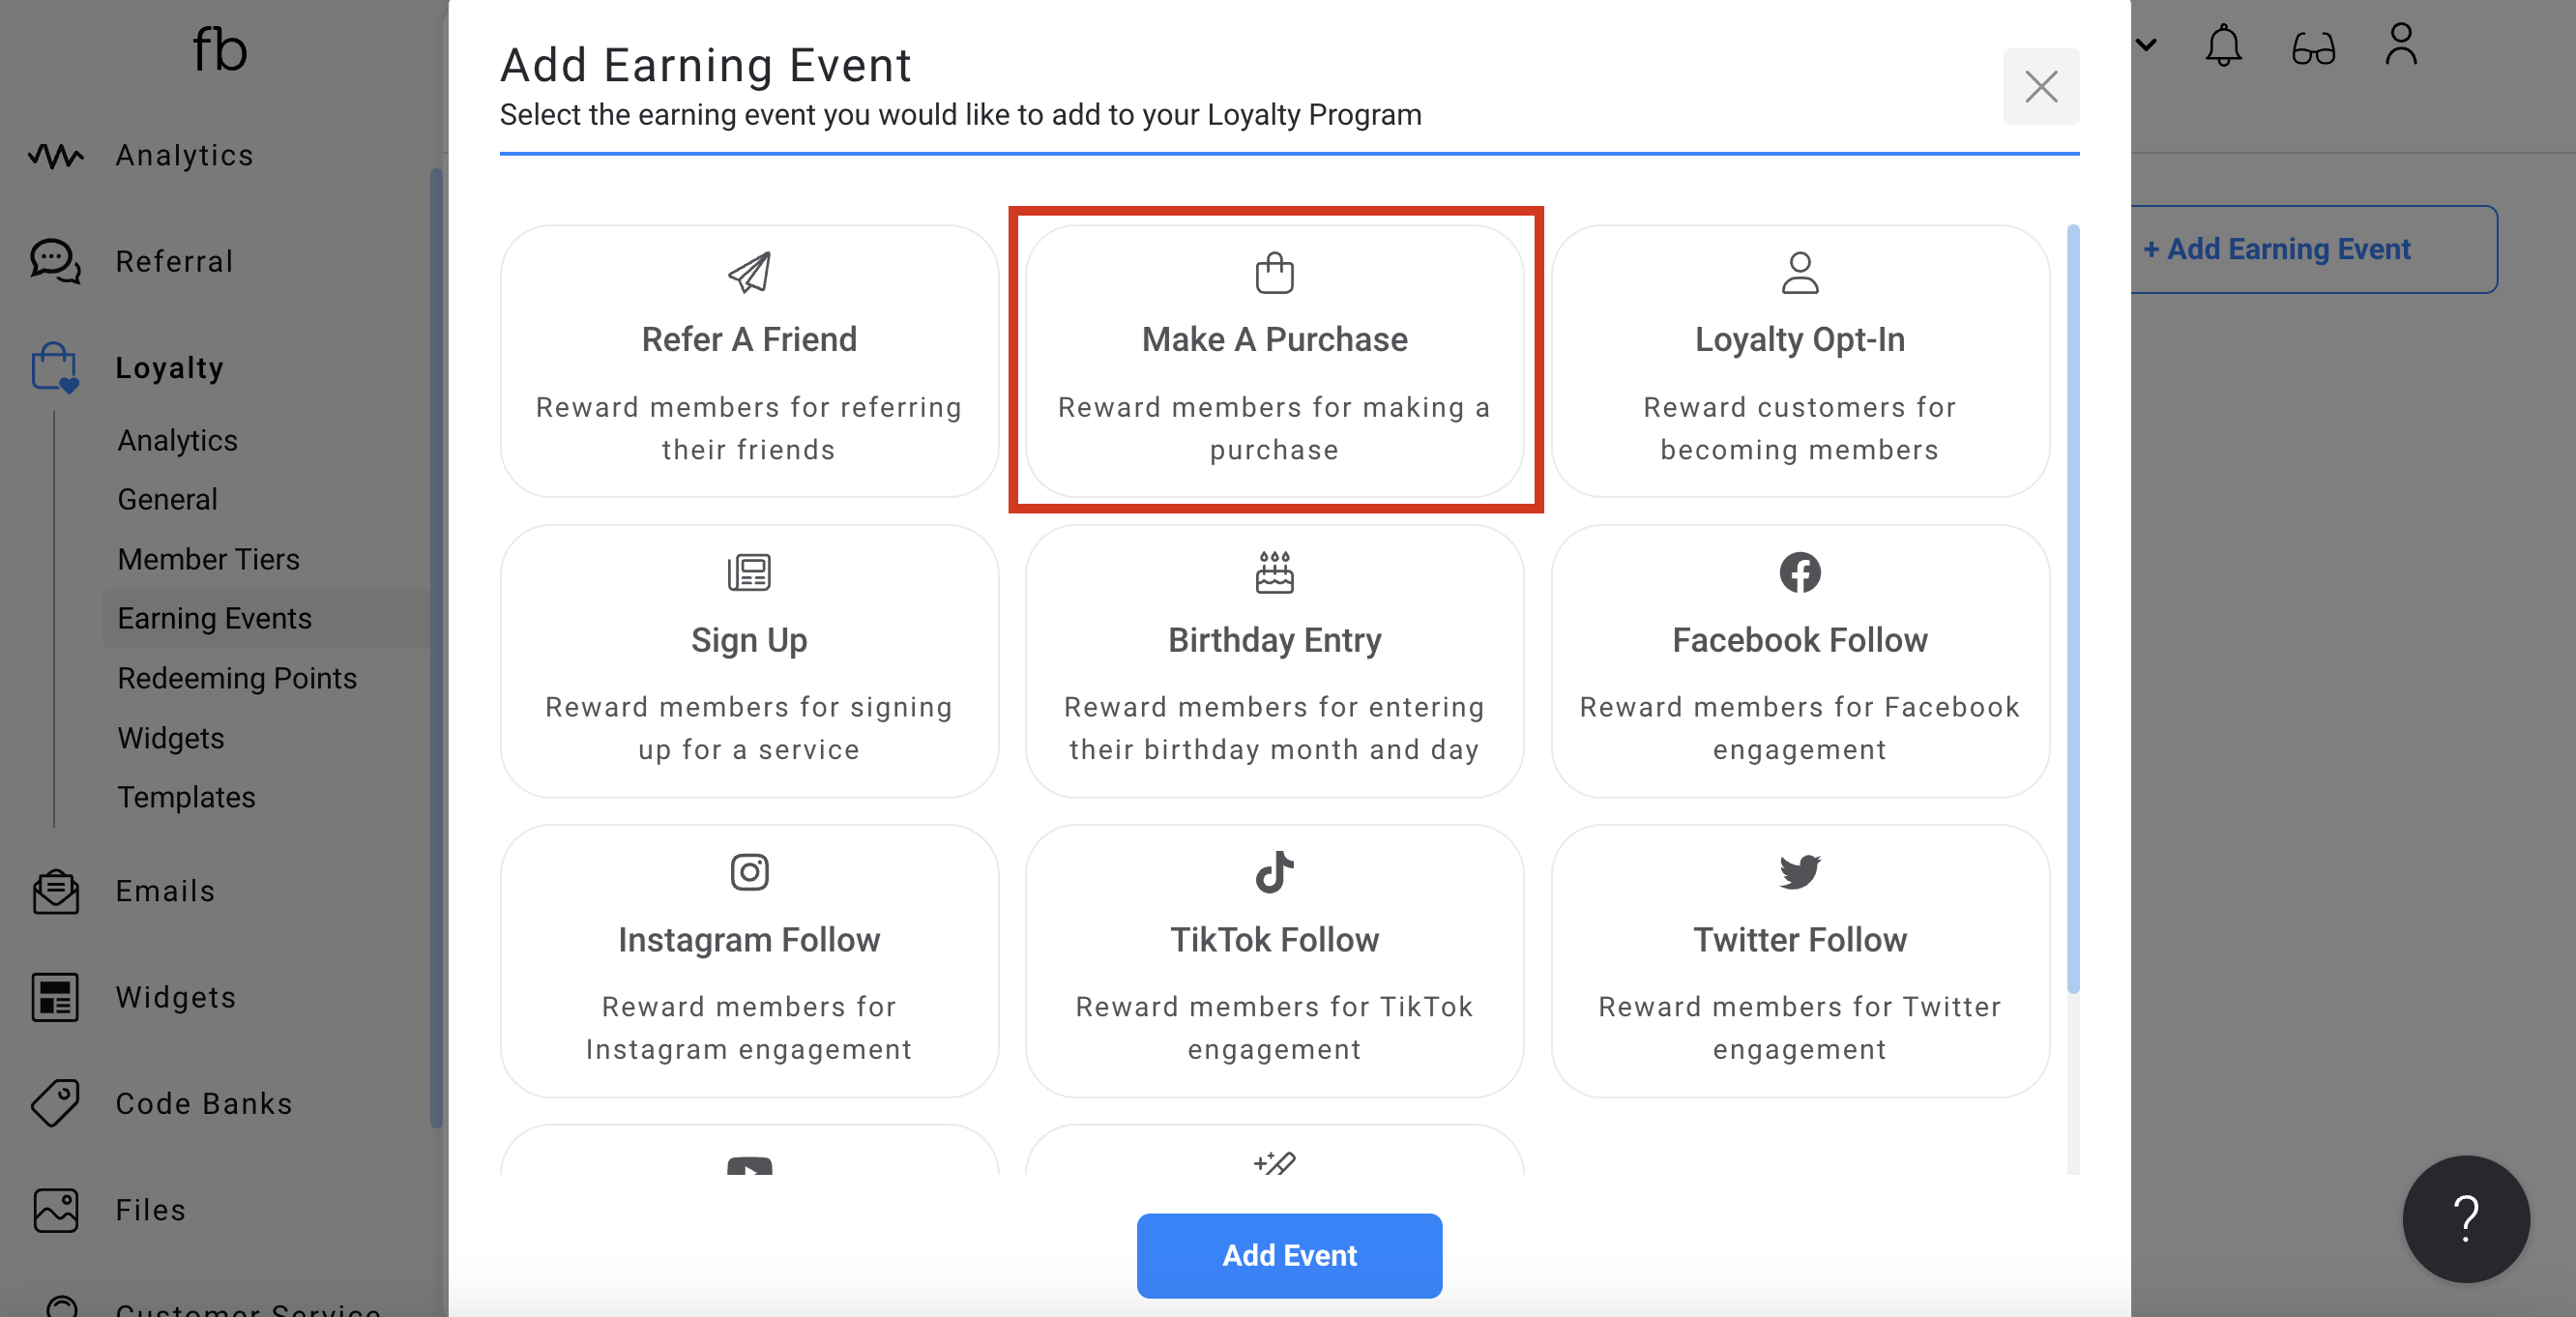
- Select what you want to reward the customer with when they complete an earning event.
- Click the Reward With drop down
- Select Salesforce Commerce Cloud Promotion
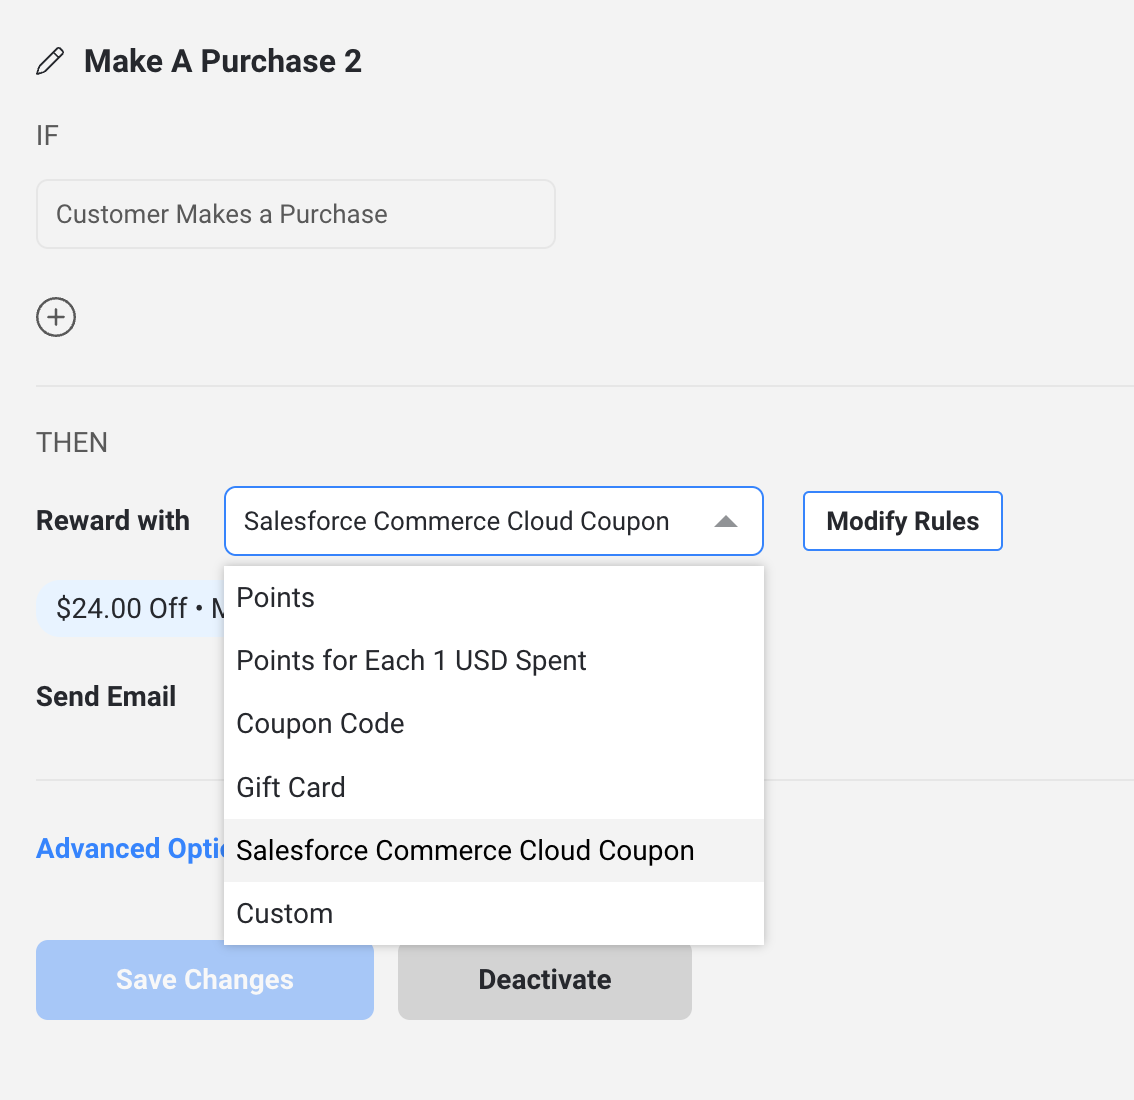
- Select the type and amount of discount and any additional logic. click save.

For more information around Earning Events, click here.